> For the complete documentation index, see [llms.txt](https://docs.lummi.ai/llms.txt). Markdown versions of documentation pages are available by appending `.md` to page URLs; this page is available as [Markdown](https://docs.lummi.ai/about-lummi/advanced-features/image-reframe.md).
# Image Reframe
Find the perfect fit.
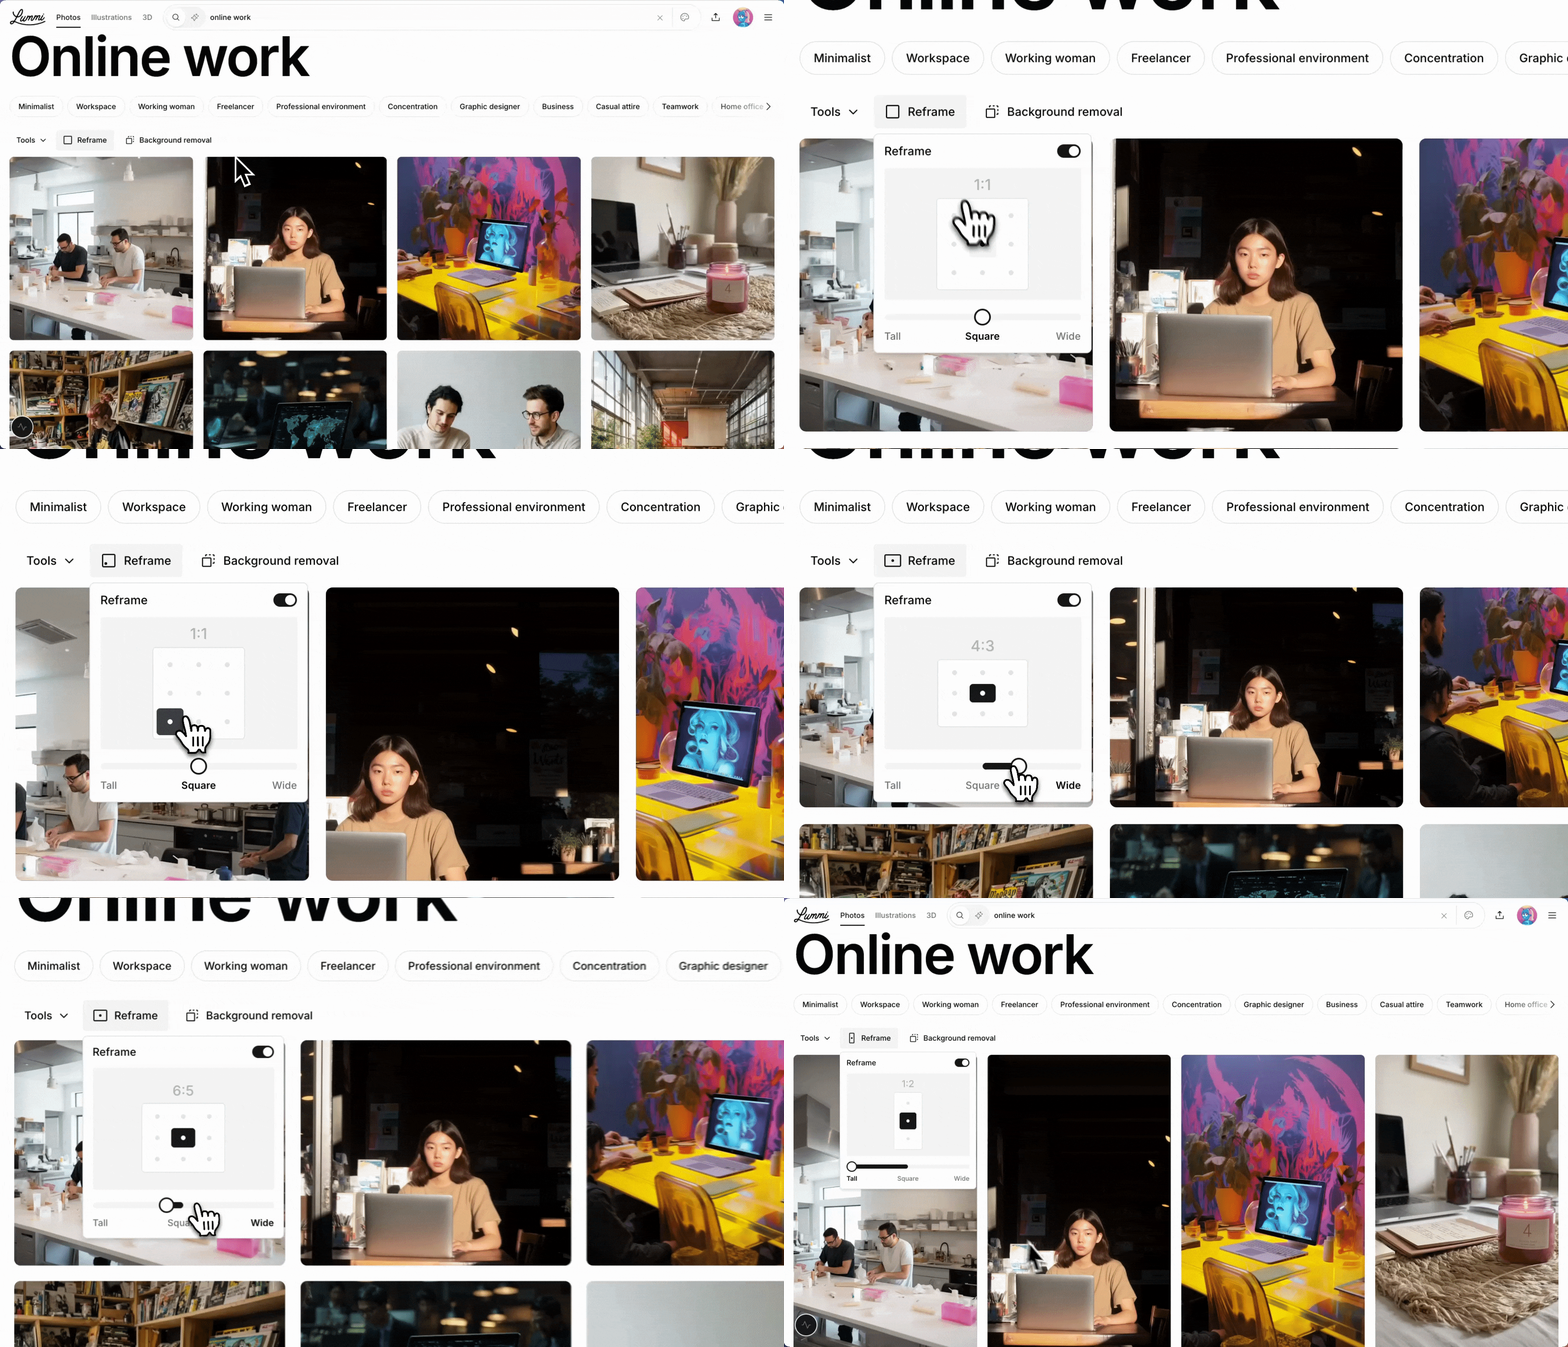
## With Reframe, simply click and drag to convert any image to your desired aspect ratio.
Find **Reframe** under the **Tools & Effects** menu. Select your image, adjust the size (taller, wider, or square), and drag the focal point markers to highlight key elements. Lummi will automatically out-paint areas to create a seamless fit.
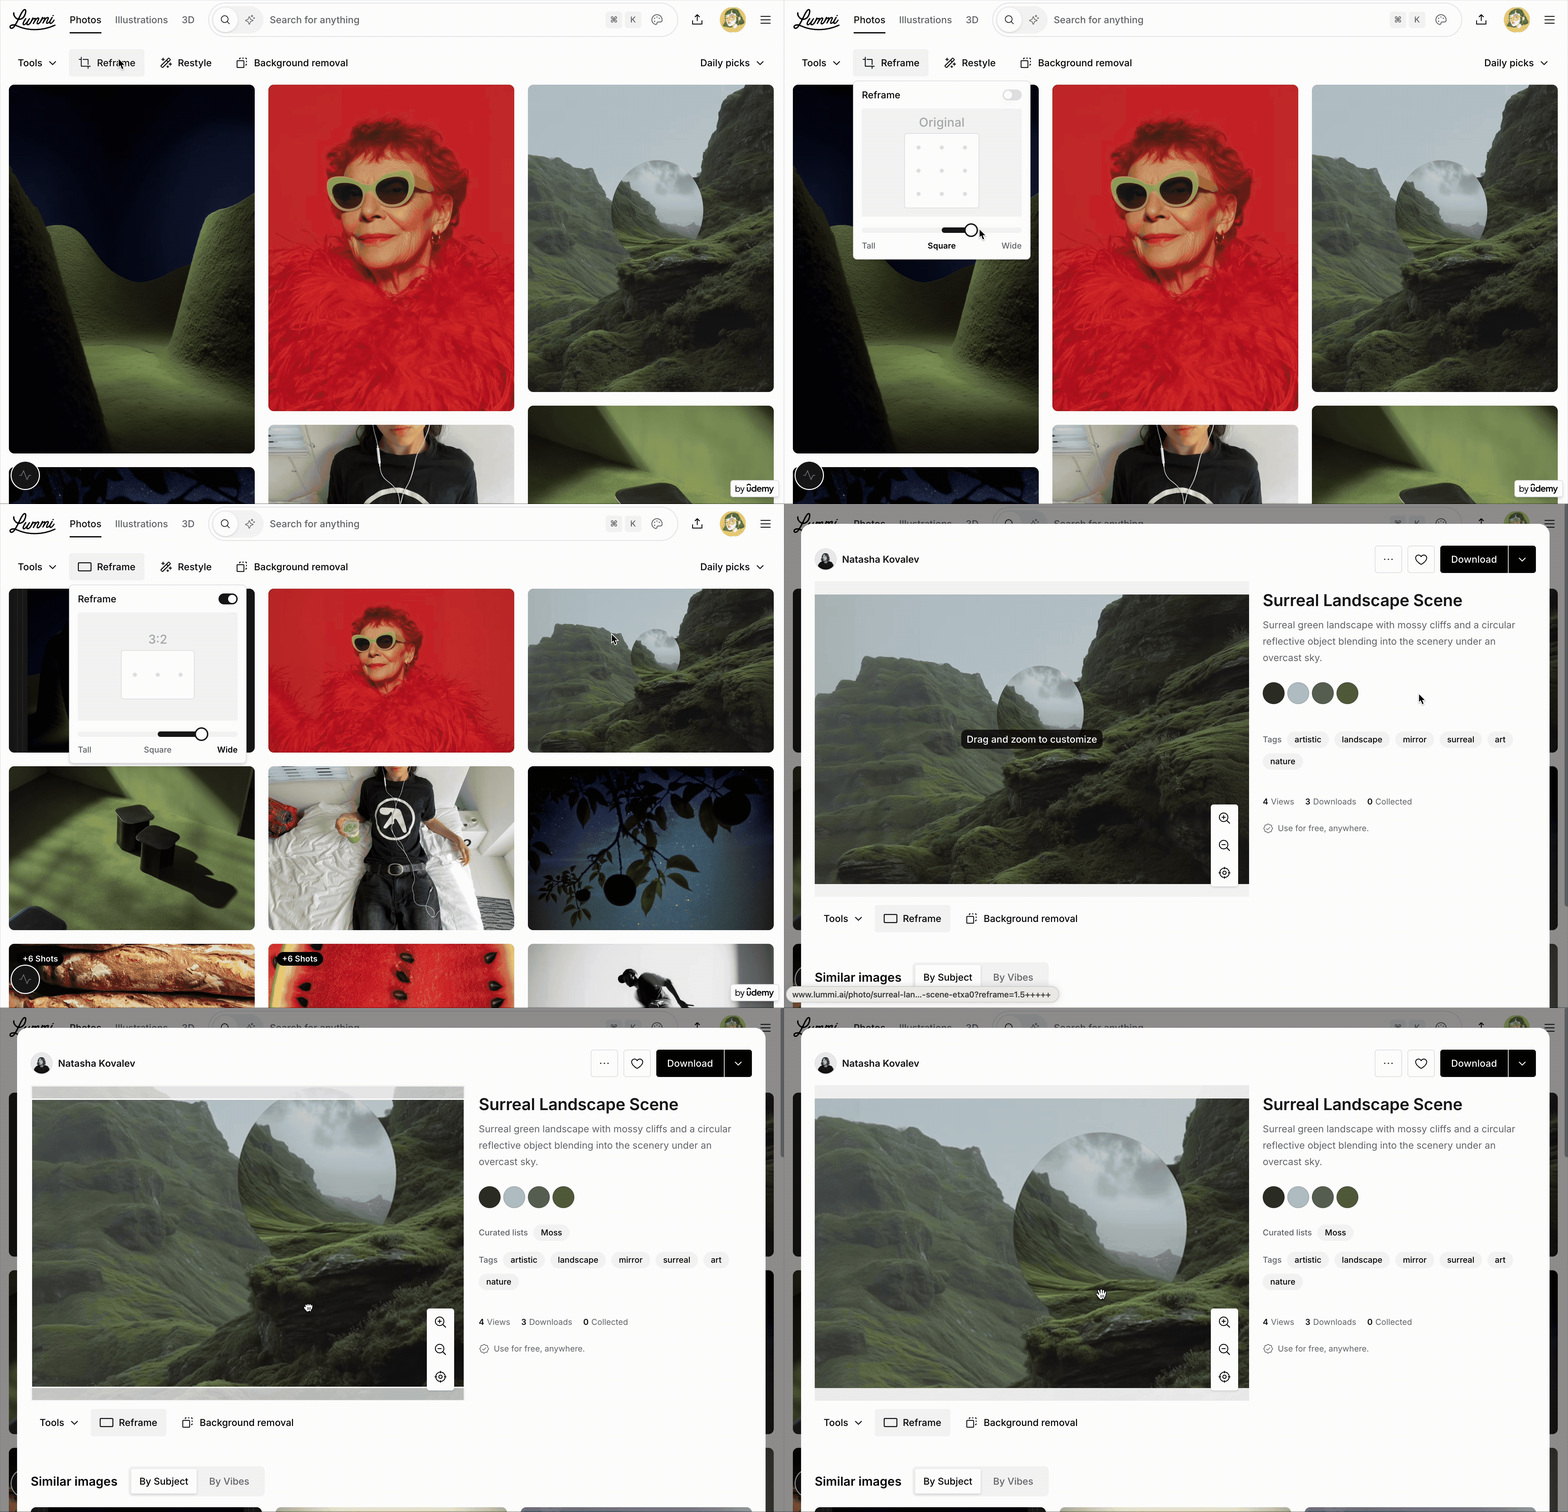
### Advanced Focal Point Editing
With advanced focal point editing, you have more control over how a reframe image is cropped. To further edit the focal point of a reframed image, select the image and drag and/or zoom in/out for the perfect fit.